Apple Pay on the web allows users to purchase goods and services within your web app. To learn more about the benefits, please look at our Apple Pay Overview.
The first step in using Apple Pay, is to become an Apple Pay Merchant. This guide helps you with that process.
First create a merchant identifier in your developer account that uniquely identifies you to Apple Pay as a merchant who is able to accept payments. You can use the same merchant identifier for multiple native and web apps. The merchant identifier never expires.
Next create a payment processing certificate that is associated with your merchant identifier and used to encrypt payment information. The payment processing certificate expires every 25 months and can be revoked. When that happens, just re-create the payment process certificate.
Then register the merchant domains in your organization that will process the Apple Pay transactions and create a merchant identity certificate that you’ll use to authenticate communication with the Apple Pay servers.
Steps:
1. Register a merchant domain:
Note: merchant domain is the domain you will be hosting the Apple Pay button on. For example, TabaPay would register the TabaPay domain to display the Apple Pay button.
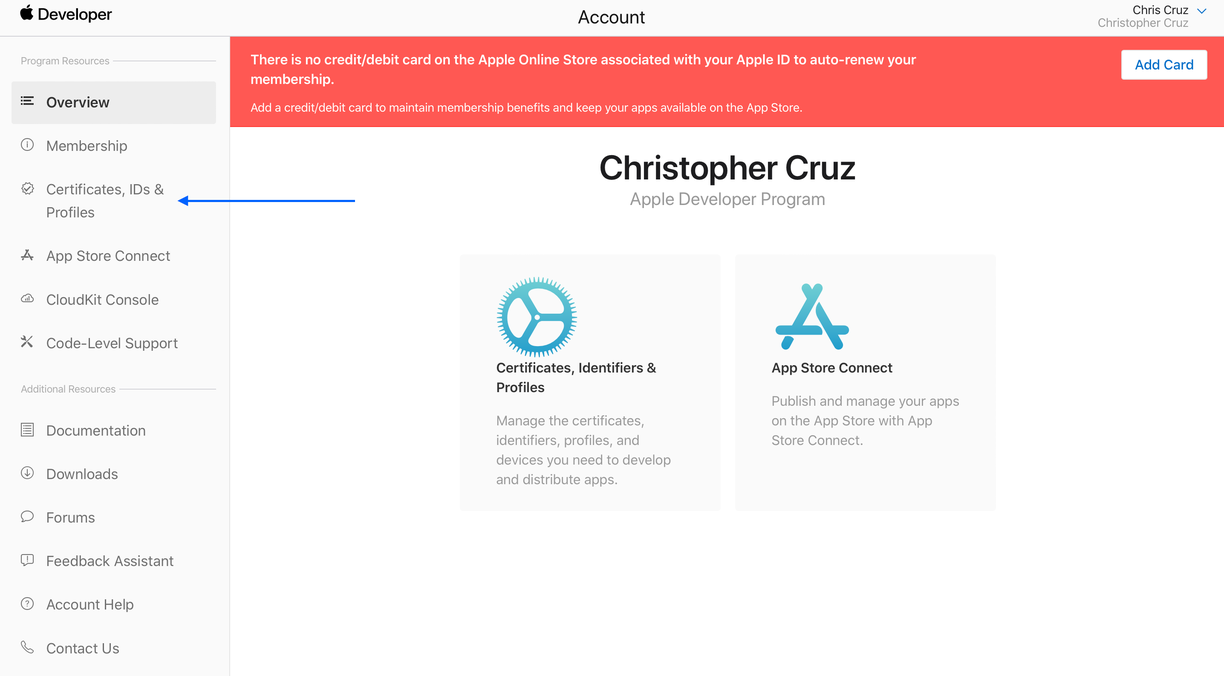
a. From the Apple Developer landing page, click Certificates, Identifiers, & Profiles
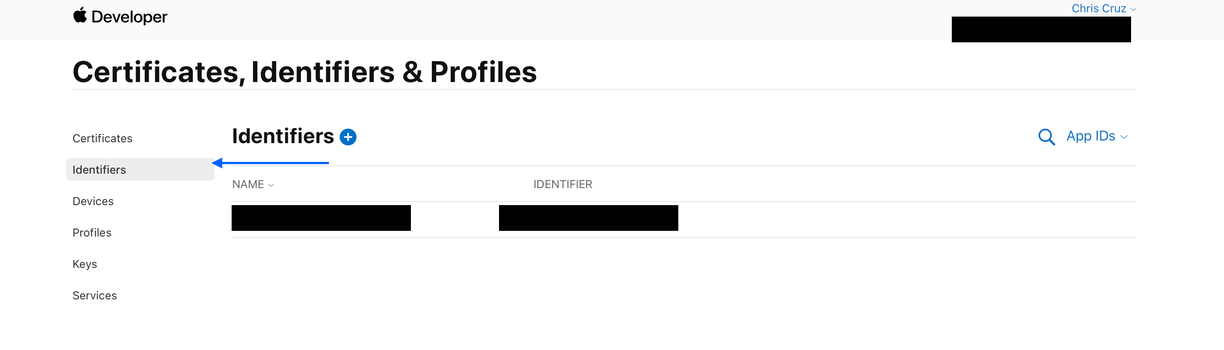
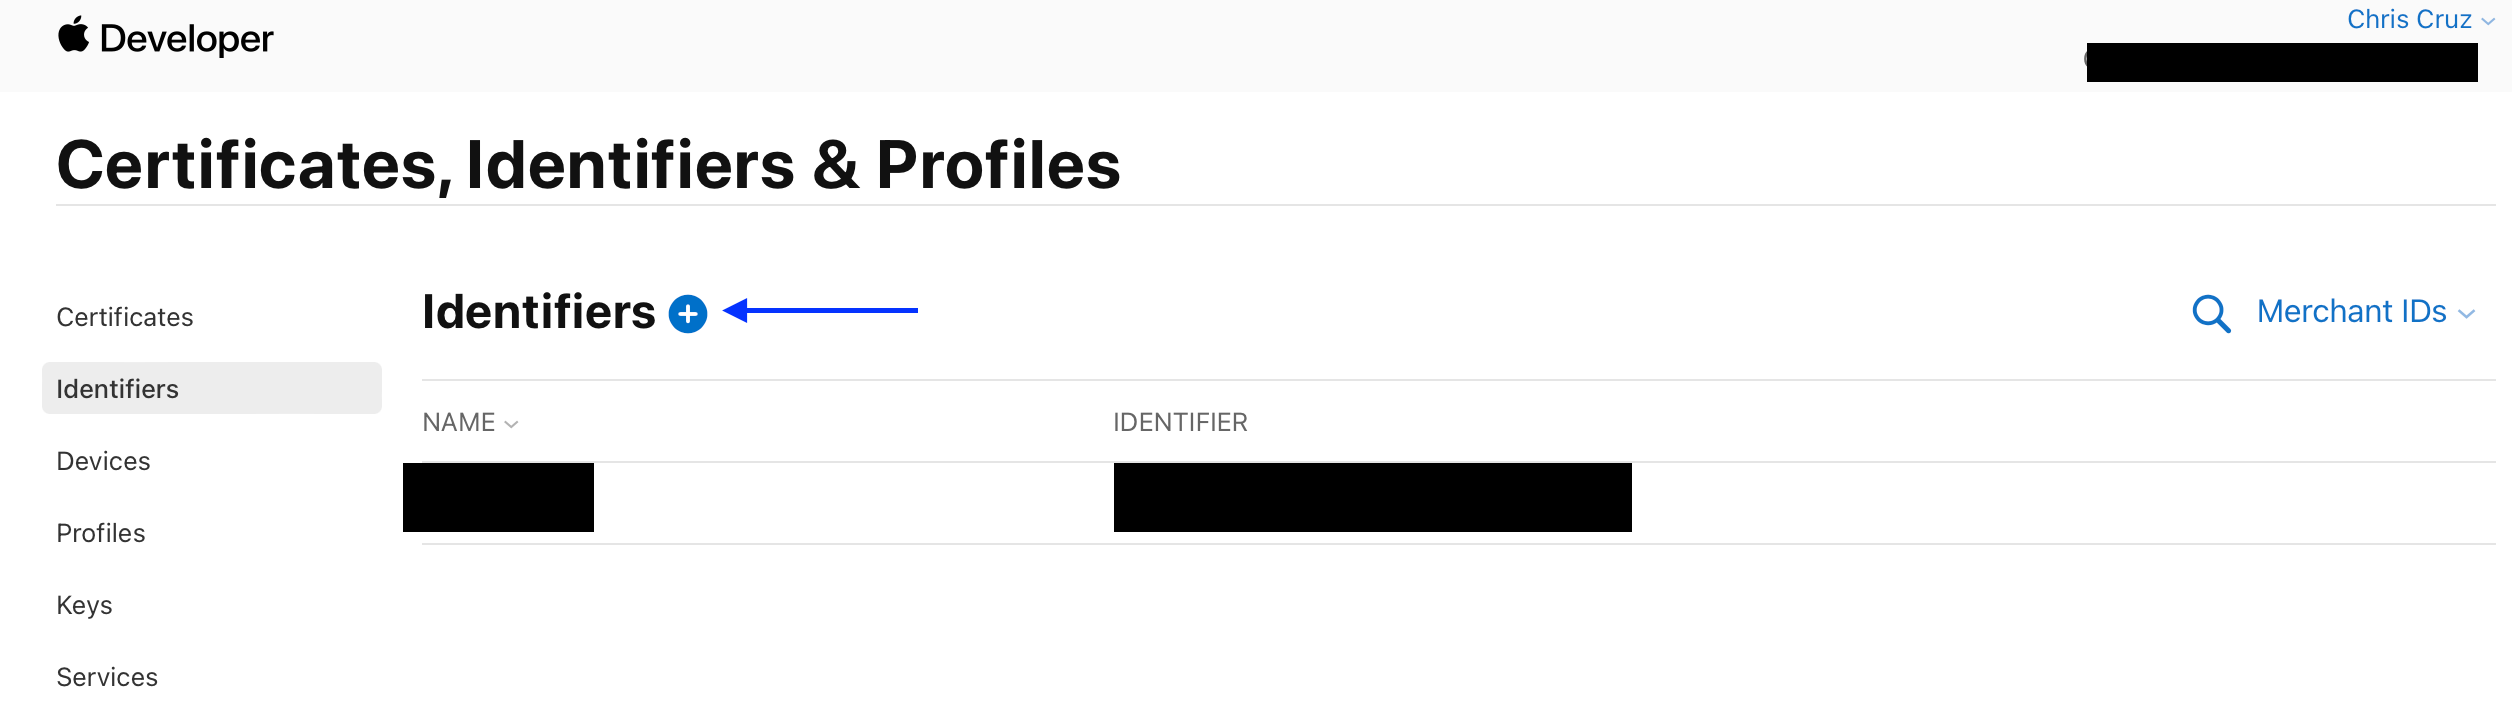
click Identifiers in the sidebar,
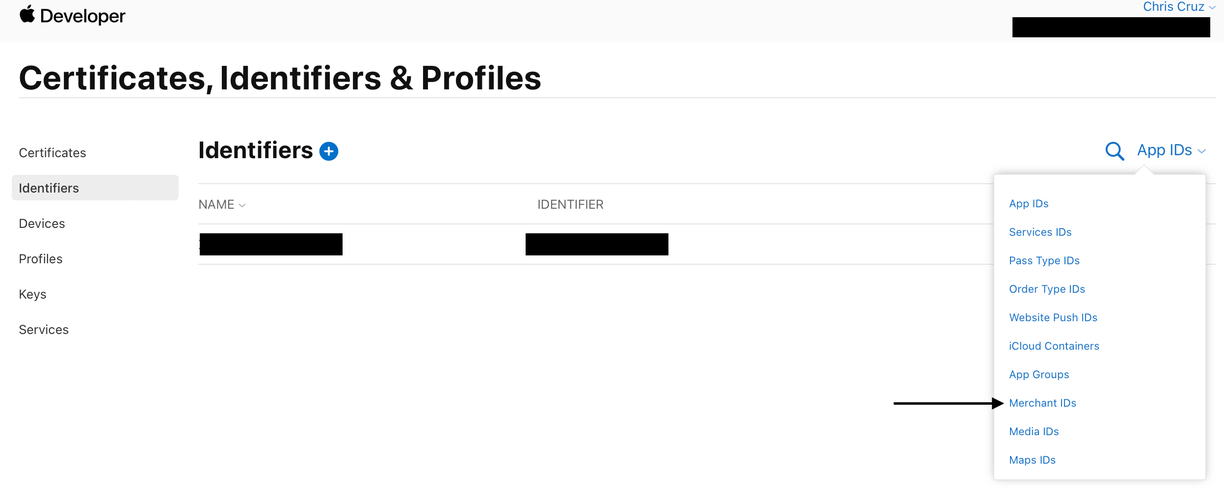
then select Merchant IDs from the pop-up menu on the top right.
c. On the right, select your merchant identifier. If you do not have an existing merchant identifier, you need to create one. See below for steps to create

d. Under Merchant Domains, click Add Domain.
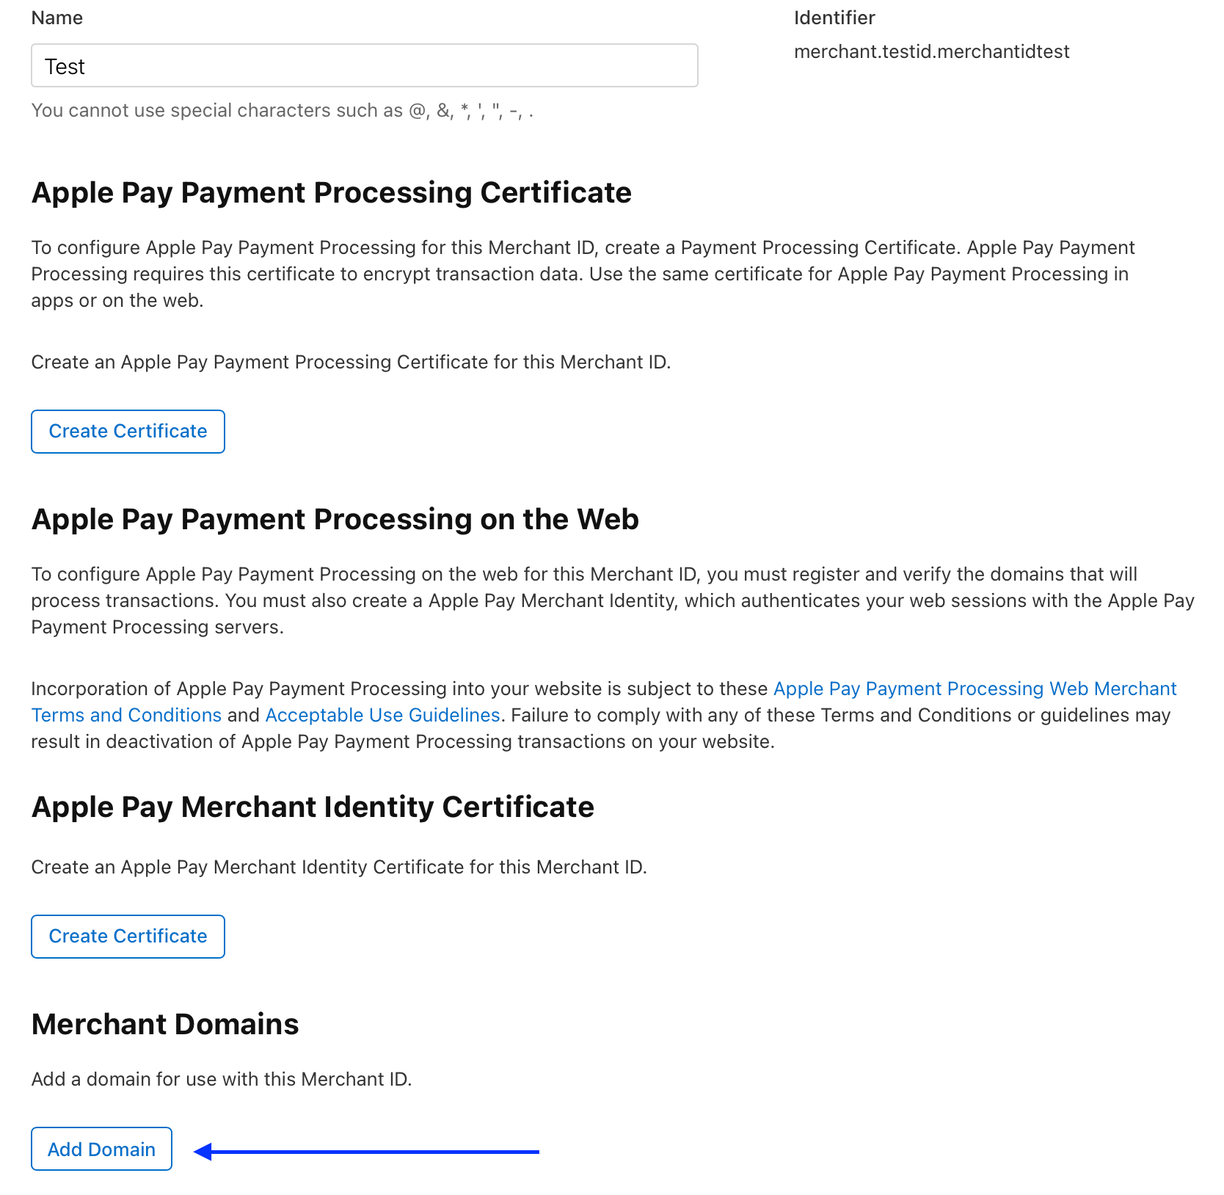
e. Enter the fully qualified domain name, then click Save.
f. Click Download
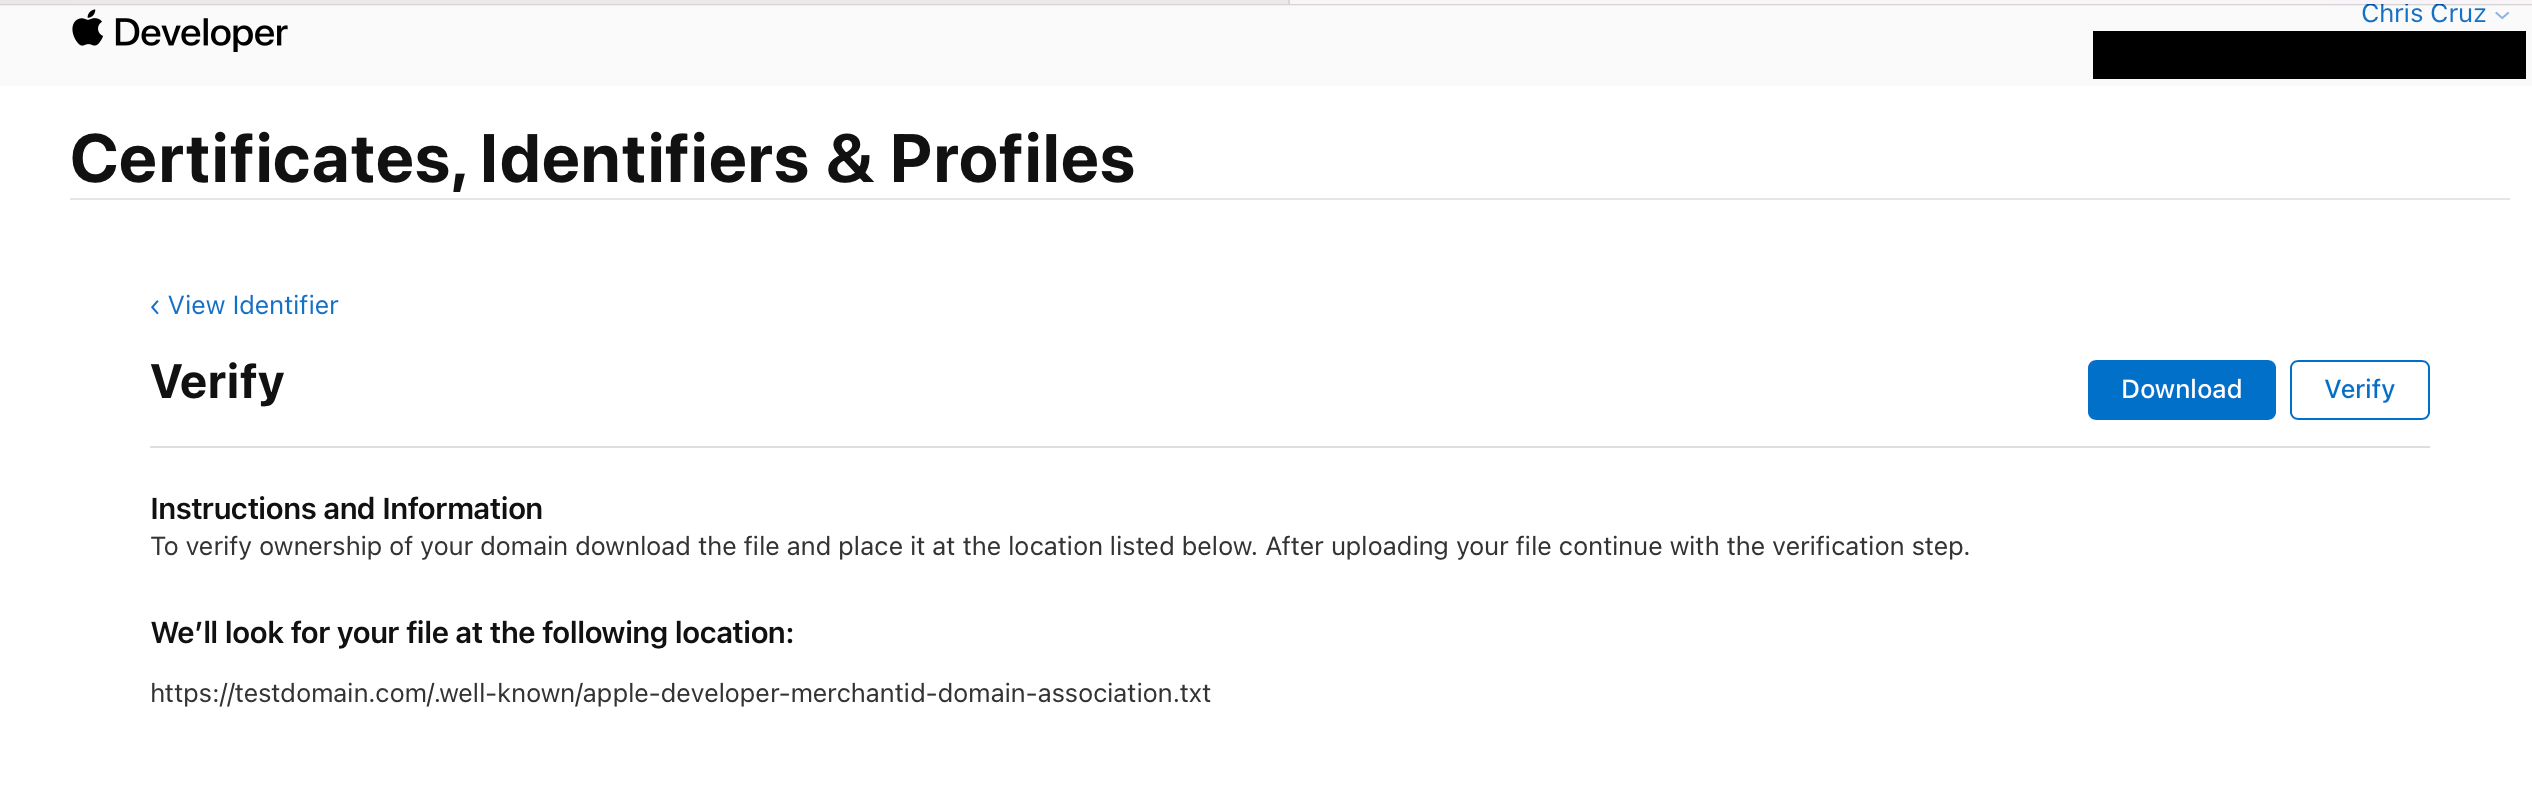
g. Place the downloaded file in the specified location
In this example, Apple will look for the file in the following location: https://testdomain.com/.well-known/apple-developer-merchantid-domain-association.txt
The .well-known folder should be in the root directory where your page is being served.
h. Click Verify.
i. Click Done.
2. Remove a merchant domain:
a. In Certificates, Identifiers & Profiles, click Identifiers in the sidebar, then select Merchant IDs from the pop-up menu on the top right.
b. On the right, select your merchant identifier.
c. Under Merchant Domains, click Remove next to the domain, then follow the instructions.
3. Verify a merchant domain
a. In Certificates, Identifiers & Profiles, click Identifiers in the sidebar, then select Merchant IDs from the pop-up menu on the top right.
b. On the right, select your merchant identifier.
c. Under Merchant Domains, click Verify next to the domain, then follow the instructions.
4. Create a merchant identity certificate
a. In Certificates, Identifiers & Profiles, click Identifiers in the sidebar, then select Merchant IDs from the pop-up menu on the top right.
b. On the right, select your merchant identifier.
c. Under Apple Pay Merchant Identity Certificate, click Create Certificate.
d. Create a certificate signing request on your Mac, then click Continue.
e. Click Choose File.
f. In the dialog that appears, select the certificate request file (a file with a .certSigningRequest file extension), then click Choose.
g. Click Continue.
h. Click Download.
The certificate file (a file with a .cer file extension) appears in your Downloads folder.
Things to consider when registering a merchant domain:
- Creating a new domain
- Use a hosting service such as A2, GoDaddy, or Namecheap to purchase a domain
- Finding Identifier in the sidebar
- Finding Merchant IDs from the pop-up menu
If you do not have an existing merchant identifier for step 1c, you need to CREATE a new one:
- Click the + button next to Identifiers
- Under Register a new identifier, select Merchant IDs
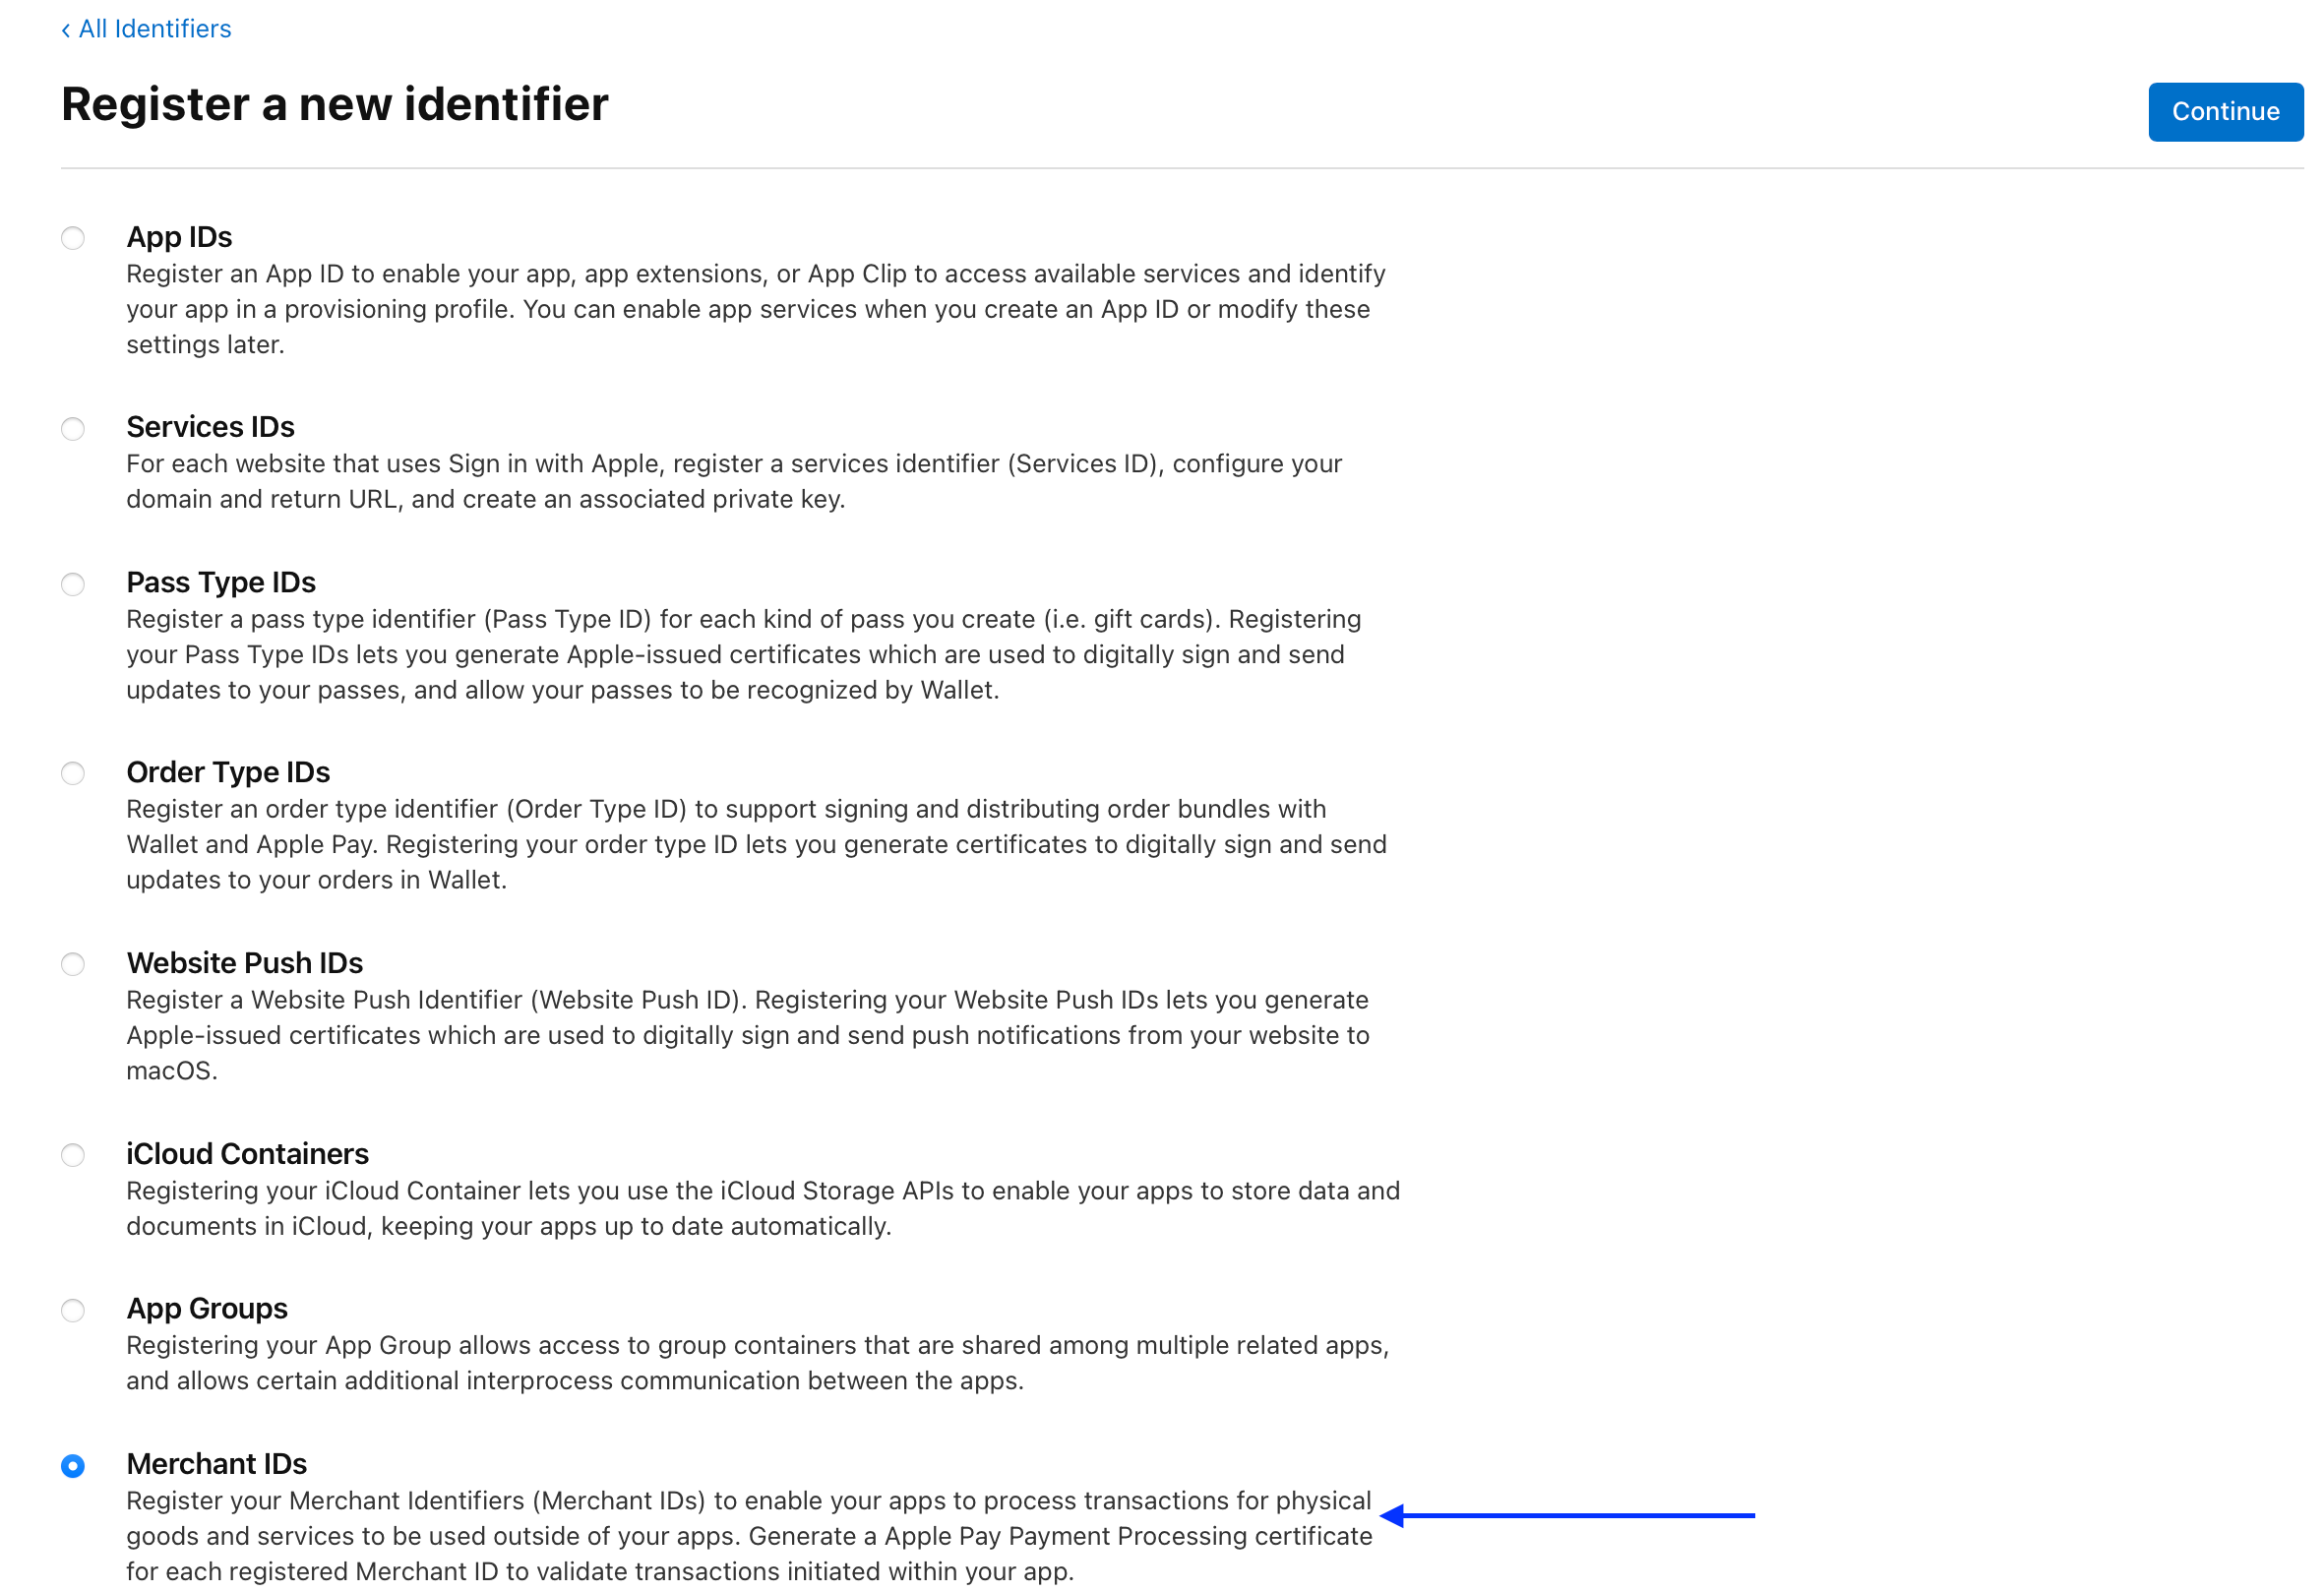
- Click continue
- Provide a Description to your merchant ID
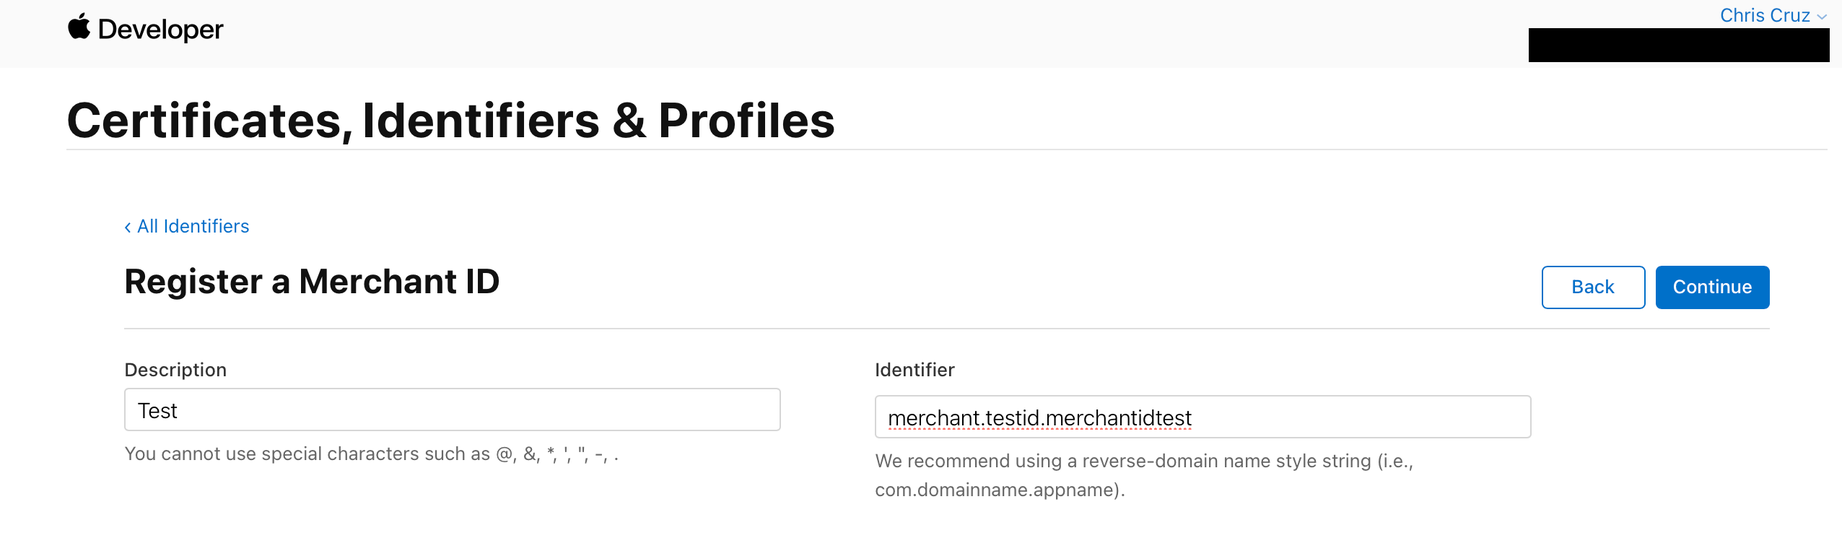
- Provide an Identifier using a reverse-domain name style string
- Click Continue
- Click Register
When entering the fully qualified domain name in step 1e, you want to use the domain you created in step 2a