The 3DS SDK is distributed using JFrog. You will need to provide TabaPay with an email address to create this account.
This guide will walk you through using JFrog to get your hands on the 3DS SDK. As well as an overview of how to integrate and use the SDK. There are a total of 13 steps in this guide:
- Get a JFrog account from TabaPay and reset your password
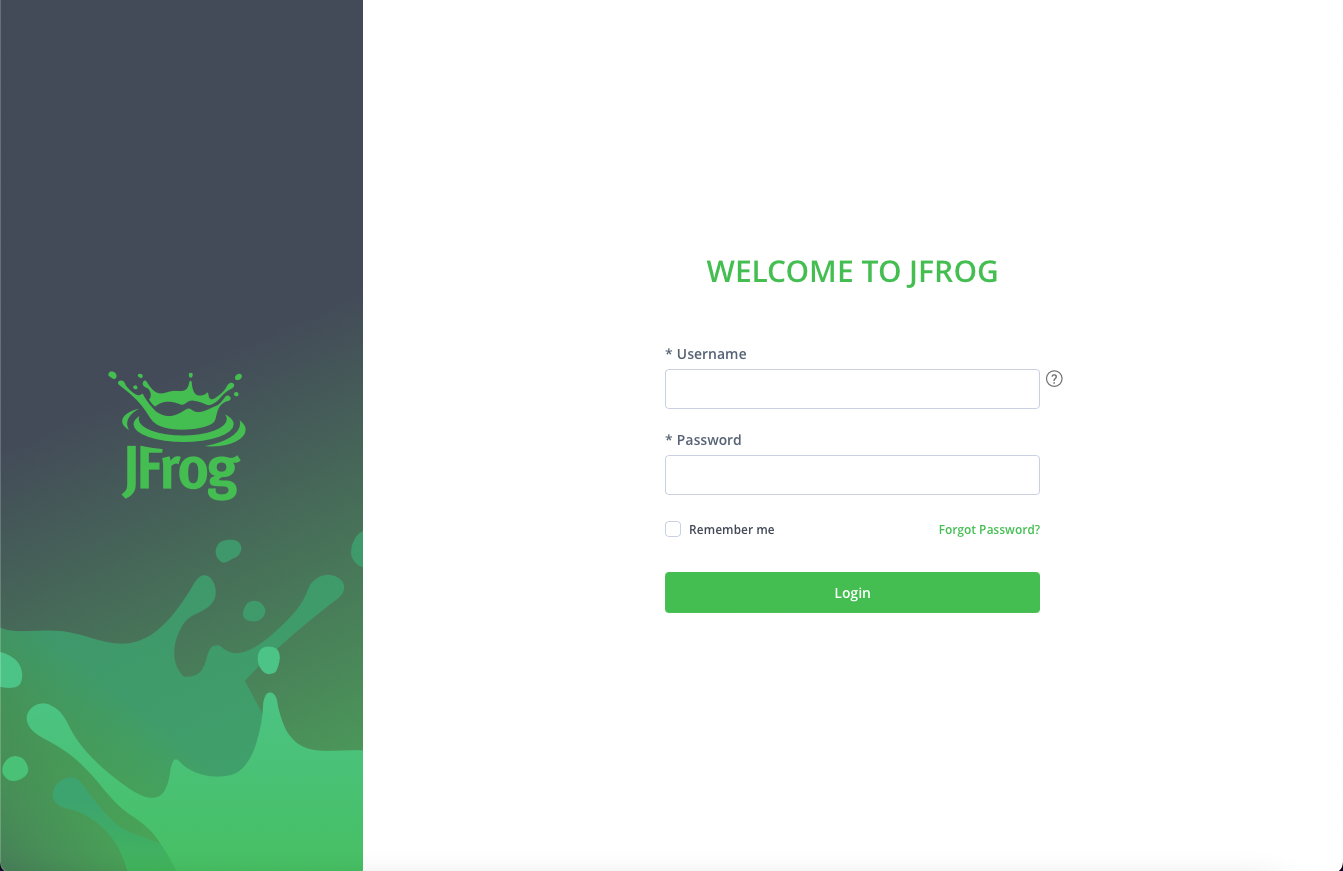
- Login to your account
- In the top-right of the JFrog Platform, select the Welcome dropdown and click “Edit Profile”
- Enter your password and click “Unlock”
- Locate Authentication Settings and click “Generate API Key”
- Download and Import the 3DS Mobile SDK
- Setting Up Your Build Environment
- Configure Cardinal 3DS Mobile SDK
- Setup the Initial Call to TabaPay (Initialize)
- Use the SDK to authenticate the JWT and begin collecting device data.
- Create a Lookup Request/Response for TabaPay
- Handle the TabaPay Lookup Response and use the SDK to handle the Challenge UI
- JWT Validation
- Create Transaction
For more information on how to integrate/use our 3DS APIs, please go to our 3DS API guide
For more information on what a challenge might look like for a customers, please use the following reference: 3DS Challenge examples
SDK flow is slightly different from the browser flow.When implementing the SDK flow, you need to keep the following items in mind.
- The SDK will send device data collected to Cardinal directly.
- This means that you do not need to send an
accountIDin the 3D Secure Initialize. Instead you would send thesdkVersion.- You will still need to pass
accountIDin the 3D Secure Lookup, but you will need to send thesdkSessionIDas well.The guide below breaks down the step by step integration, and we will repeat this information in the relevant steps. This is just a quick summary.
How to get the SDK
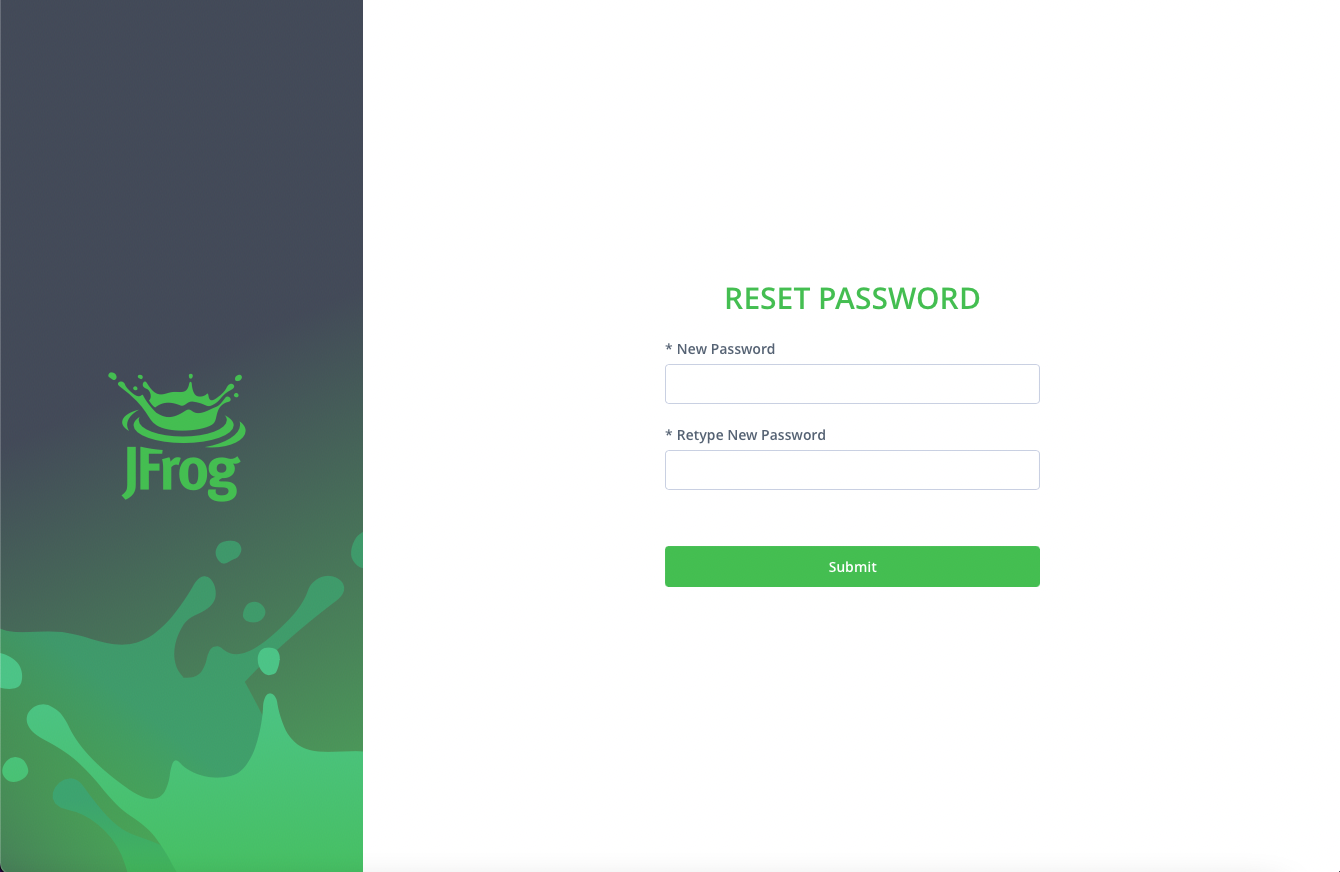
1. Get a JFrog account from TabaPay and reset your password
Provide TabaPay with an email address for the account. Then you will receive a username and URL link to access the correct JFrog page. You can then reset your password by clicking on "Forgot my password".
Remember to use your Username, not your email for this.For JFrog Access go to URL: https://cardinalcommerceprod.jfrog.io/ui/login/

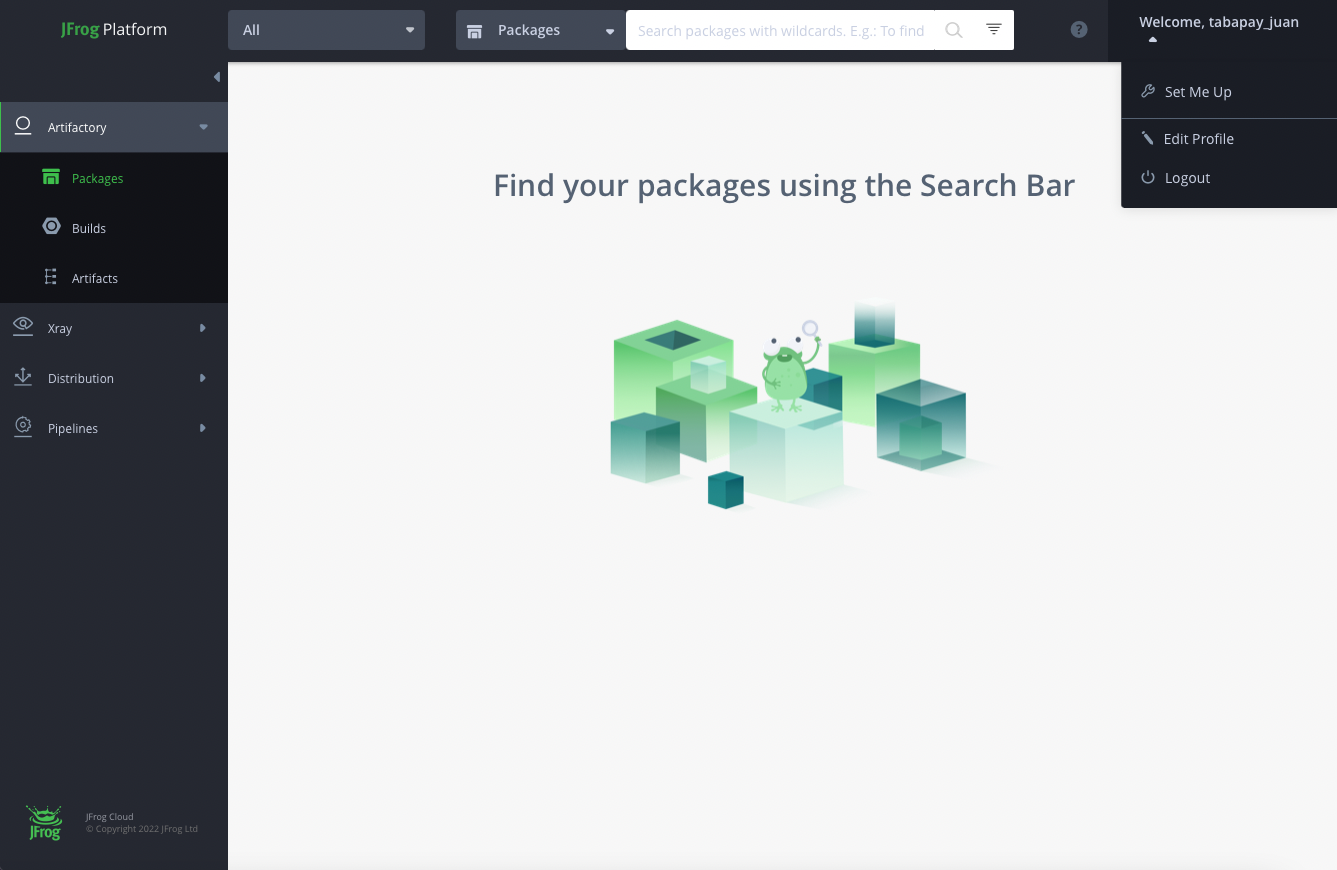
3. Edit Profile
In the top-right of the JFrog Platform, select the Welcome dropdown and click “Edit Profile”
4. Unlock
Enter your password and click “Unlock”
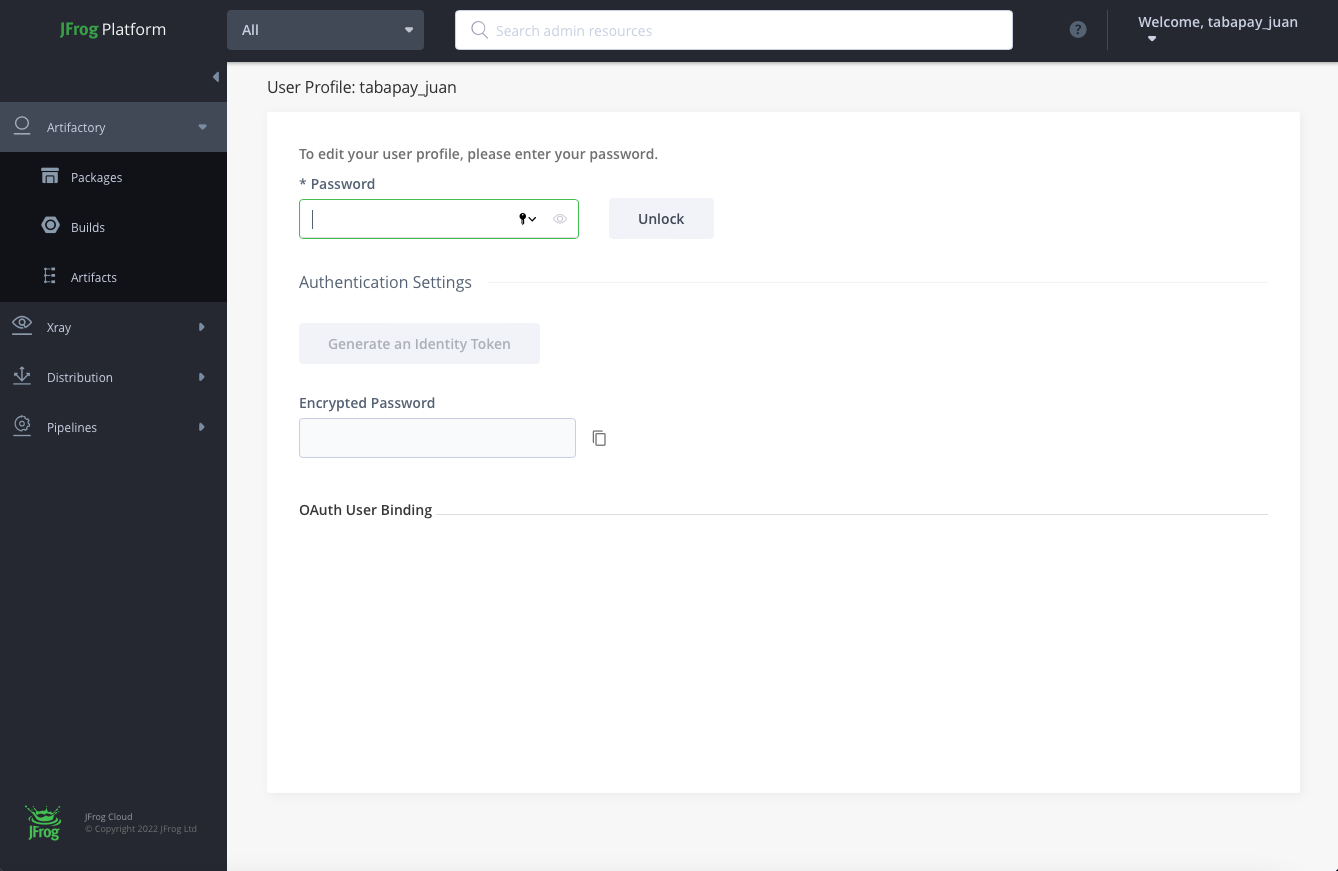
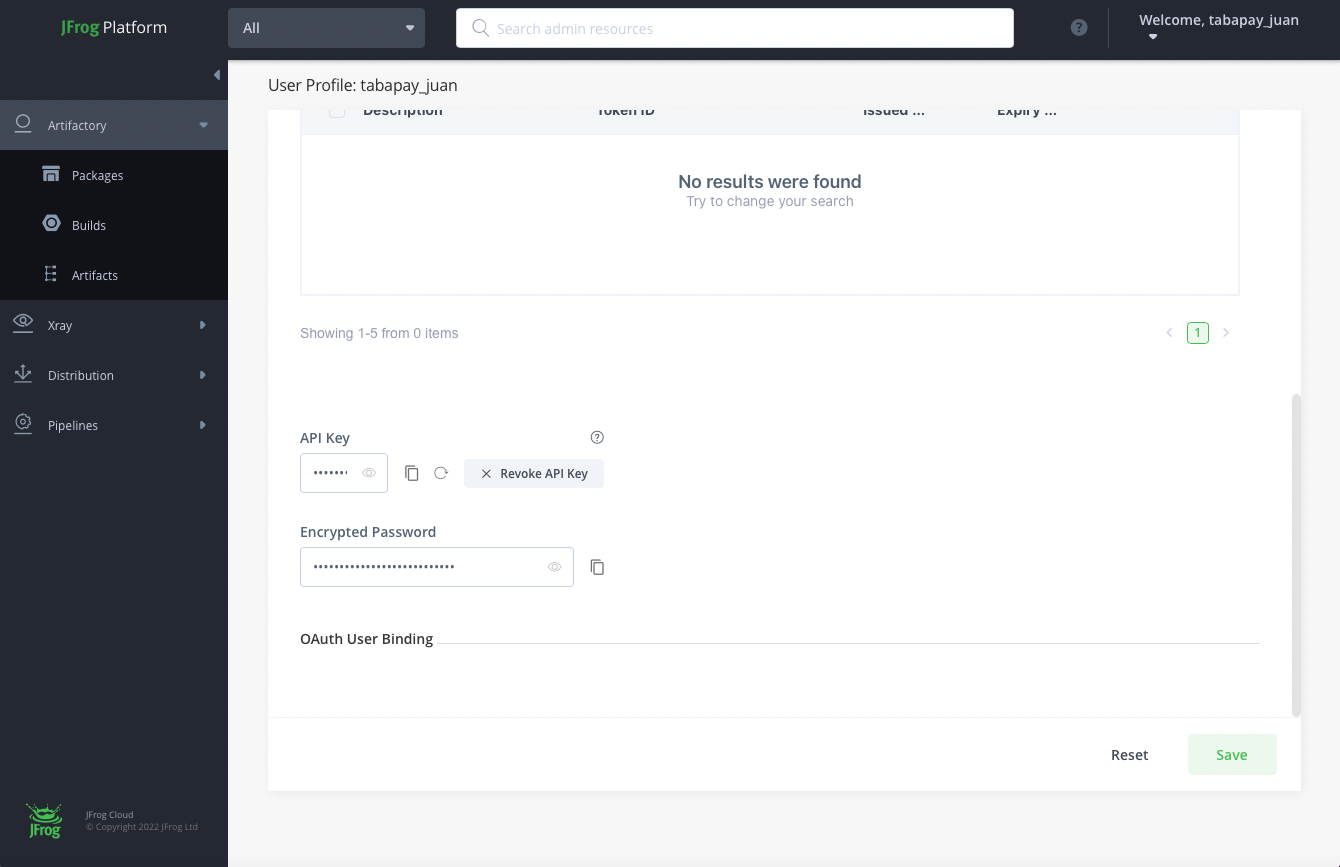
5. Locate Authentication Settings and click “Generate API Key”
Scroll down to find the Generate API Key button and click it.
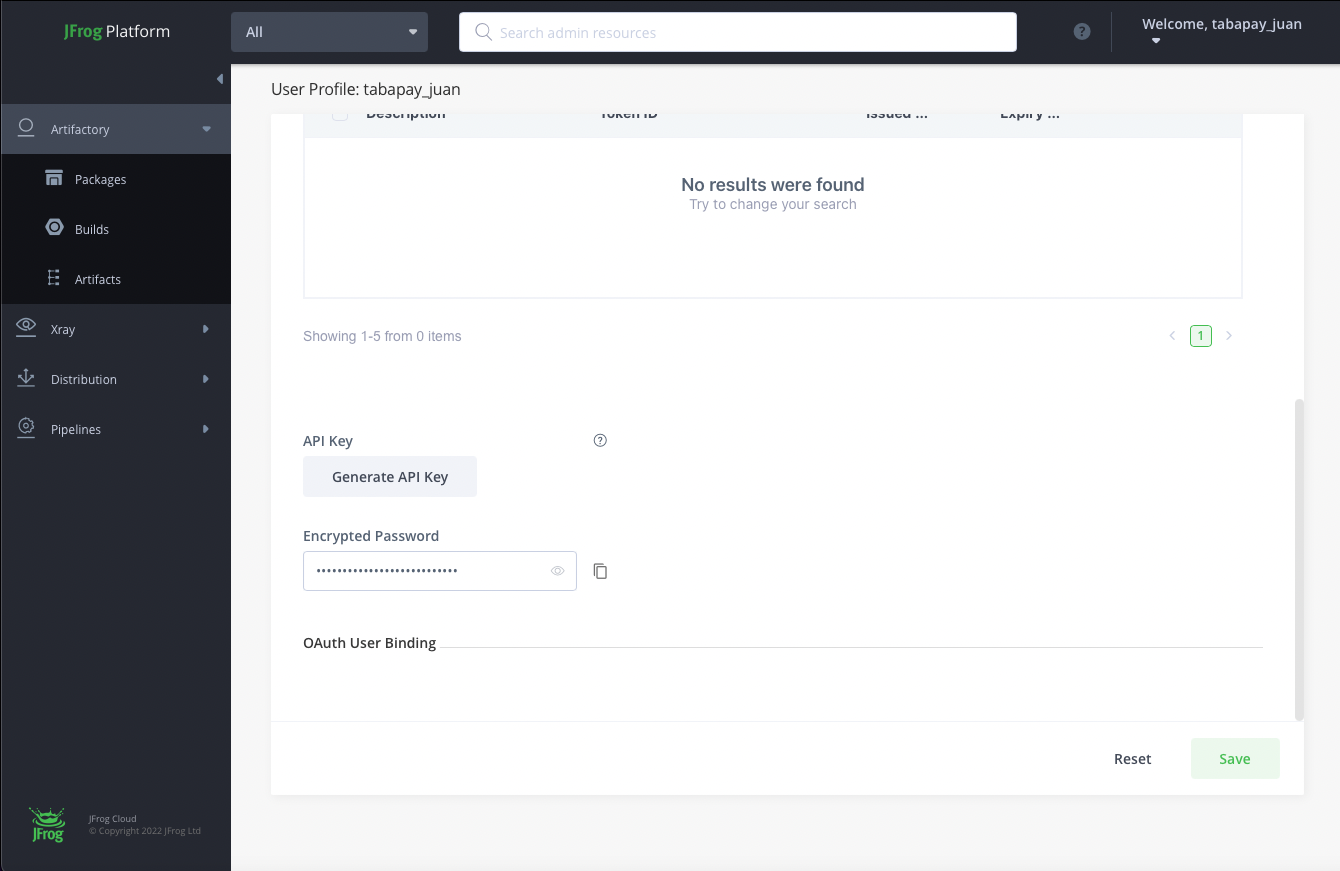
This API Key value will be used to authenticate you during Cardinal Mobile SDK downloads and/or Gradle builds.
How to use the 3DS SDK
The next steps are how you would go about integrating and using the SDK depending on your operating system.
Make sure you have 3DS on your TabaPay Plan.3DS 2.0 requires cardholder address as part of the authentication process at the issuer. This means, TabaPay's 3DS API/SDK will fail if the payment instrument does not have a corresponding address. If you're using Account ID as the payment instrument for 3DS, it must have billing address associated with it. So, please ensure you create accounts by providing address always
6. Download and Import the 3DS Mobile SDK
a. For iOS - Download the SDK file using cURL and add it to your XCode project
Please note:The username and API key you generated in the previoues section (JFrog) is used to download/import the 3DS SDK.
Download CardinalMobile.framework cURL
curl -L -u \<USER_NAME>
        :\<API_KEY> <https://cardinalcommerceprod.jfrog.io/artifactory/ios/><VERSION>-\<BUILD_NUMBER>/cardinalmobilesdk.zip
        -o \<LOCAL_FILE_NAME.EXT>

#Example:
curl -L -u UserName:ApiKey "<https://cardinalcommerceprod.jfrog.io/artifactory/ios/2.2.5-1/cardinalmobilesdk.zip>" -o cardinalmobile2.2.5-1.zip
Download .xcframework Using cURL
curl -L -u \<USER_NAME>
        :\<API_KEY> <https://cardinalcommerceprod.jfrog.io/artifactory/ios/><VERSION>-\<BUILD_NUMBER>/CardinalMobileiOSXC.zip
        -o \<LOCAL_FILE_NAME.EXT>

#Example:
curl -L -u UserName:ApiKey "<https://cardinalcommerceprod.jfrog.io/artifactory/ios/2.2.5-1/CardinalMobileiOSXC.zip>" -o cardinalmobile2.2.5-1.zip
Add to your project
After you have downloaded the file then you can add it to your project through XCode. From your XCode project, go ahead and drag the CardinalMobile.framework or CardinalMobile.xcframework file into the Frameworks group inside of your Xcode Project. If a group doesn't already exist, then create the group. In the Import dialog, tick the box to Copy items into destinations group folder (or Destination: Copy items if needed). The iOS SDK files are now available for linking to your project.
b. For Android - Update the Gradle Build Properties to Integrate Cardinal Mobile SDK
Please note:The username and API key you generated in the previoues section (JFrog) is used to download/import the 3DS SDK.
To add the SDK to an Android App is relatively simple. Go to Android Studio, and open the app directory (sometimes labeled Module: app). Then open the build.gradle file. Double-check to make sure that you edit the Gradle file that is located in the app directory. Add the following contents to the Gradle file.
repositories {
    ...
  maven {
      url  "<https://cardinalcommerceprod.jfrog.io/artifactory/android>"
      credentials {
          username '' // Artifactory username
            password '' // Artifactory API Key
      }
  }
}
dependencies {
    ...
  //Cardinal Mobile SDK
  implementation 'org.jfrog.cardinalcommerce.gradle:cardinalmobilesdk:X.X.X-X'
}ReplaceX.X.X-X with the latest Cardinal SDK Version Number.
If your project uses Proguard, add the following lines into proguard-rules.pro file:
-keep class com.cardinalcommerce.dependencies.internal.bouncycastle.**
-keep class com.cardinalcommerce.dependencies.internal.nimbusds.**
7. Setting Up Your Build Environment
For iOS
- Open Xcode and click on your project in the source list to the left of the main editor area.
- Select your application under the Targets section and go to the General tab.
- Expand the Embedded Binaries section then click the small “+” button at the bottom of the list.
- Add the CardinalMobile.framework or CardinalMobile.xcframework file from the list
For Android
No additional work needed to setup your build environment
8. Configure Cardinal 3DS Mobile SDK
For iOS
Upon successfully completing Integration in Step 1 and Step 2, create a new instance of the cardinal object by session = CardinalSession(). SDK offers multiple configuration options for you (if not specified, everything is set to default). For more details: CardinalConfigurationOptions. Use the code snippet below for completing the configuration.
import CardinalMobile

var session : CardinalSession!

//Setup can be called in viewDidLoad
func setupCardinalSession{
  session = CardinalSession()
  var config = CardinalSessionConfiguration()
  config.deploymentEnvironment = .production
  config.requestTimeout = 8000
  config.challengeTimeout = 5
  config.uiType = .both

  let yourCustomUi = UiCustomization()
  //Set various customizations here. See "iOS UI Customization" documentation for detail.
  config.uiCustomization = yourCustomUi

  let yourDarkModeCustomUi = UiCustomization()
  config.uiCustomization = yourDarkModeCustomUi

  config.renderType = [CardinalSessionRenderTypeOTP,
                          CardinalSessionRenderTypeHTML,
                          CardinalSessionRenderTypeOOB,
                          CardinalSessionRenderTypeSingleSelect,
                          CardinalSessionRenderTypeMultiSelect]

  session.configure(config)
}
For Android
Upon successfully completing Integration in Step 1, get the instance of the cardinal object by Cardinal.getInstance(). SDK offers multiple configuration options for you (if not specified, everything is set to default). For more details see the Configurations table. Use the code snippets below for completing the cardinal.configure().
private Cardinal cardinal = Cardinal.getInstance();
@Override
protected void onCreate(Bundle savedInstanceState) {

CardinalConfigurationParameters cardinalConfigurationParameters = new CardinalConfigurationParameters();
        cardinalConfigurationParameters.setEnvironment(CardinalEnvironment.STAGING);
        cardinalConfigurationParameters.setRequestTimeout(8000);
      cardinalConfigurationParameters.setChallengeTimeout(5);

      JSONArray rType = new JSONArray();
        rType.put(CardinalRenderType.OTP);
        rType.put(CardinalRenderType.SINGLE_SELECT);
        rType.put(CardinalRenderType.MULTI_SELECT);
        rType.put(CardinalRenderType.OOB);
        rType.put(CardinalRenderType.HTML);
        cardinalConfigurationParameters.setRenderType(rType);

        cardinalConfigurationParameters.setUiType(CardinalUiType.BOTH);

        UiCustomization yourUICustomizationObject = new UiCustomization();
        cardinalConfigurationParameters.setUICustomization(yourUICustomizationObject);

        cardinal.configure(this,cardinalConfigurationParameters);

}
9. Setup the Initial Call to TabaPay (Initialize)
You will need to call your own backend server in order to initiate a init request since only your backend server can contact the TabaPay API. More information on 3DS API Guide
Initializes a 3D Secure Card Authentication Request. This creates a JWT for 3D Secure Card Authentication.
If you are an ISO, you will need to specify a SubClientID.
SDK flow is slightly different from the browser flow.When implementing the SDK flow, you need to keep the following items in mind.
- The SDK will send device data collected to Cardinal directly.
- This means that you do not need to send an
accountIDin the 3D Secure Initialize. Instead you would send thesdkVersion.
URL
https://FQDN/v2/clients/ClientID/3ds/init
Merchant must connect with TabaPay’s 3D Secure Initialize
Notes:
For Clients who are an ISO, to specify your ClientID and a SubClientID, use the underscore character ("_") to separate the two values: <ClientID>_<SubClientID> where:
- ClientID is your unique 22-character string and
- SubClientID is an assigned 4, 6 or 8-digit value.
This generates your JWT
10. Use the SDK to authenticate the JWT and begin collecting device data
Calling session.setup will begin the process of authenticating your credentials (using the JWT from the previous step) and completing the data collection process. By the time they are ready to checkout, all necessary pre-processing will be completed. Use the code snippet below for completing the session setup.
Important note:The SDK returns
consumerSessionIdin thecompletedcallback. This is the value that you would send to the 3D Secure Lookup in thesdkSessionIDfield.
let jwtString = "INSERT_THE_TABAPAY_INIT_JWT_HERE"

session.setup(jwtString: jwtString, completed: { (consumerSessionId: String) in
    //
    // You may have your Submit button disabled on page load. Once you are setup
    // for CCA, you may then enable it. This will prevent users from submitting
    // their order before CCA is ready.
    //
}) { (validateResponse: CardinalResponse) in
    // Handle failed setup
    // If there was an error with setup, cardinal will call this function with
    // validate response and empty serverJWT
}
For Android
Calling cardinal.init() on an instance of Cardinal will begin the process of authenticating your credentials (using the JWT from the previous step) and completing the data collection process. By the time they are ready to checkout, all necessary pre-processing will be completed. Use the code snippet below for completing the setup.
Important note:The SDK returns
consumerSessionIdin theonSetupCompletedcallback. This is the value that you would send to the 3D Secure Lookup in thesdkSessionIDfield.
For iOS
Calling session.setup will begin the process of authenticating your credentials (using the JWT from the previous step) and completing the data collection process. By the time they are ready to checkout, all necessary pre-processing will be completed. Use the code snippet below for completing the session setup.
Important note:The SDK returns
consumerSessionIdin thecompletedcallback. This is the value that you would send to the 3D Secure Lookup in thesdkSessionIDfield.
let jwtString = "INSERT_THE_TABAPAY_INIT_JWT_HERE"

session.setup(jwtString: jwtString, completed: { (consumerSessionId: String) in
    //
    // You may have your Submit button disabled on page load. Once you are setup
    // for CCA, you may then enable it. This will prevent users from submitting
    // their order before CCA is ready.
    //
}) { (validateResponse: CardinalResponse) in
    // Handle failed setup
    // If there was an error with setup, cardinal will call this function with
    // validate response and empty serverJWT
}
For Android
v
cardinal = Cardinal.getInstance();
String serverJwt = "INSERT_THE_TABAPAY_INIT_JWT_HERE";
cardinal.init(serverJwt ,
new CardinalInitService() {
    /**
    * You may have your Submit button disabled on page load. Once you are set up
    * for CCA, you may then enable it. This will prevent users from submitting
    * their order before CCA is ready.
    */
    @Override
    public void onSetupCompleted(String consumerSessionId) {

    }
    /**
    * If there was an error with set up, Cardinal will call this function with
    * validate response and empty serverJWT
    * @param validateResponse
    * @param serverJwt will be an empty
    */
    @Override
    public void onValidated(ValidateResponse validateResponse, String serverJwt) {

    }
});cardinal = Cardinal.getInstance();
String serverJwt = "INSERT_THE_TABAPAY_INIT_JWT_HERE";
cardinal.init(serverJwt ,
new CardinalInitService() {
/**
* You may have your Submit button disabled on page load. Once you are set up
* for CCA, you may then enable it. This will prevent users from submitting
* their order before CCA is ready.
*/
@Override
public void onSetupCompleted(String consumerSessionId) {
}
/**
* If there was an error with set up, Cardinal will call this function with
* validate response and empty serverJWT
* @param validateResponse
* @param serverJwt will be an empty
*/
@Override
public void onValidated(ValidateResponse validateResponse, String serverJwt) {
}
});11. Create a Lookup Request/Response for TabaPay
You will need to call your own backend server in order to initiate a lookup request since only your backend server can contact the TabaPay API. For more information on our APIs: 3DS API Guide
SDK flow is slightly different from the browser flow.When implementing the SDK flow, you need to keep the following items in mind.
- You will still need to pass
accountIDin the 3D Secure Lookup, but you will need to send thesdkSessionIDas well.- In the previous step, the SDK returns
consumerSessionIdin thecompleted(iOS) oronSetupCompleted(android) callback. This is the value that you would send to the 3D Secure Lookup in thesdkSessionIDfield.The guide below breaks down the step by step integration, and we will repeat this information in the relevant steps. This is just a quick summary.
3D Secure Card Lookup.
If you are an ISO, you will need to specify a SubClientID.
URL
https://FQDN/v2/clients/ClientID/3ds/lookup
Notes:
For Clients who are an ISO, to specify your ClientID and a SubClientID, use the underscore character ("_") to separate the two values: <ClientID>_<SubClientID> where:
- ClientID is your unique 22-character string and
- SubClientID is an assigned 4, 6 or 8-digit value.
Lookup codes
The following documentation has the values you should use for the lookup call:
Please follow our "How to guide" to complete your backend integration.
Required Field for identifying as an SDK transaction:\ <DeviceChannel>SDK</DeviceChannel>\ <DFReferenceId>ReferenceId</DFReferenceId>\
ReferenceId is consumerSessionId returned on setup completion, if no referenceID is passed in serverJwt. Else you can use that referenceID as DFReferenceId
12. Handle the TabaPay Lookup Response and use the SDK to handle the Challenge UI
Frictionless Response:
After the completion of the lookup request, check the response for the following fields :
3dsVersion = 2.X ( 2.0, 2.1, etc)
enrolled = Y
status = Y
The status = Y means that the authentication was succesful and NO challenge is necessary.
Example frictionless response:
{
  "SC": 200,
  "EC": "0",
  "3dsVersion": "2.1.0",
  "enrolled": "Y",
  "processorTransactionID": "11111111111111111111",
  "dsTransactionID": "11111111-2222-3333-4444-555555555555",
  "status": "Y",
  "ECI": "05",
  "UCAF": "1111111111111111111111111111"
}
Step up/Challenge response:
After the completion of the lookup request, check the response for the following fields :
3dsVersion = 2.X ( 2.0, 2.1, etc)
enrolled = Y
challengeURL=[not empty]
payload=[not empty]
The existence of the challengeURL and payload elements in the response mean that a Challenge is required for Authentication.
Example challenge response:
{
  "SC": 200,
  "EC": "0",
  "3dsVersion": "2.1.0",
  "enrolled": "Y",
  "processorTransactionID": "11111111111111111111",
  "dsTransactionID": "11111111-2222-3333-4444-555555555555",
  "challengeURL": "https://someplace.somewhere.com/challenge",
  "payload": "A_LONG_PAYLOAD"
}
In this case initiate the challenge flow.
Here are some example challenge flows
After the challenge is performed, the SDK will return control to the application through the stepUpDidValidate or onValidate events. The following are some potential responses from the challenge:
NOACTION - Authentication was not applicable.
SUCCESS - Authentication was completed successfully.
FAILURE - Authentication resulted in a failure.
ERROR - An error was encountered.
For more detailed information about ActionCodesPlease visit our 3DS challenge results page
For iOS
Call [session continueWithTransactionId.. ] to hand control to SDK for performing the challenge between the user and the issuing bank. Use the code snippet below for completing the session's continue.
[session continueWithTransactionId: @"[processorTransactionID]" payload: @"[PAYLOAD]" didValidateDelegate: self];In continue for Quick Integration, a class conforming to a protocol CardinalValidationDelegate (and implement a method stepUpDidValidate) should be passed as a parameter. Following is the example of class conforming to CardinalValidationDelegate protocol.
class YourViewController:CardinalValidationDelegate {

    /**
     * This method is triggered when the transaction has been terminated.This is how SDK hands back
     * control to the merchant's application. This method will
     * include data on how the transaction attempt ended and
     * you should have your logic for reviewing the results of
     * the transaction and making decisions regarding next steps.
     * JWT will be empty if validate was not successful
     *
     * @param session
     * @param validateResponse
     * @param serverJWT
     */
    func cardinalSession(cardinalSession session: CardinalSession!, stepUpValidated validateResponse: CardinalResponse!, serverJWT: String!) {

    }

}
If continue is being called in the same class then the following method is called to start StepUpFlow:
session.continueWith(transactionId: "[processorTransactionID]", payload: "[PAYLOAD]", validationDelegate: self)stepUpDidValidate is triggered when the transaction has been terminated. This is how the 3DS Mobile SDK hands back control to the merchant's application. This event will include data on how the transaction attempt ended and should be where you review the results of the transaction and make decisions regarding the next steps. The field ActionCode should be used to determine the overall state of the transaction.
Please note:
validateResponsemay returnnilin a successful challenge. Please us theserverJWTwith the 3D Secure Authenticate API to get the final result.
func cardinalSession(cardinalSession session: CardinalSession!, stepUpValidated validateResponse: CardinalResponse!, serverJWT: String!) {
    switch validateResponse.actionCode {
    case .success:
        // Handle successful transaction, send JWT to backend to verify
        break

    case .noAction:
        // Handle no actionable outcome
        break

    case .failure:
        // Handle failed transaction attempt
        break

    case .error:
        // Handle service level error
        break

  case .cancel:
        // Handle transaction canceled by user
        break

  case .timeout:
        // Handle transaction timedout
        break
    }
}
For Android
Call cardinal.cca_continue to hand control to SDK for performing the challenge between the user and the issuing bank. Use the code snippet below for completing the cardinal.continue().
cardinal.cca_continue is updated to not passing the hardcoded directoryServerID anymore
 cardinal.cca_continue("[processorTransactionID ]", "[PAYLOAD]", this, new CardinalValidateReceiver() {
});/**
* Cca continue.
*
* @param transactionId the transaction id
* @param payload the payload
* @param currentActivity the current activity
* @throws InvalidInputException the invalid input exception
* @throws JSONException the json exception
* @throws UnsupportedEncodingException the unsupported encoding exception
*/
try {
cardinal.cca_continue("[processorTransactionID ]", "[PAYLOAD]", this, new CardinalValidateReceiver() {
/**
* This method is triggered when the transaction has been terminated. This is how SDK hands back
* control to the merchant's application. This method will
* include data on how the transaction attempt ended and
* you should have your logic for reviewing the results of
* the transaction and making decisions regarding next steps.
* JWT will be empty if validate was not successful.
*
* @param validateResponse
* @param serverJWT
*/
@Override
public void onValidated(Context currentContext, ValidateResponse validateResponse, String serverJWT) {
}
});
}
catch (Exception e) {
// Handle exception
}onValidated() is triggered when the transaction has been terminated. This is how the 3DS Mobile SDK hands back control to the merchant's application. This event will include data on how the transaction attempt ended and should be where you review the results of the transaction and make decisions regarding the next steps. The field ActionCode should be used to determine the overall state of the transaction.
@Override
   public void onValidated(Context currentContext, ValidateResponse validateResponse, String serverJWT) {

       switch (validateResponse.getActionCode()){

           case SUCCESS:
               // Handle successful transaction, send JWT to backend to verify
               break;
           case NOACTION:
               // Handle no actionable outcome
               break;
           case FAILURE:
               // Handle failed transaction attempt
               break;
         case CANCEL:
               // Handle cancel transaction
               break;
           case ERROR:
               // Handle service level error
               break;
         case TIMEOUT:
               // Handle timeout
               break;
      }
}
13. JWT Validation
Once the challenge is completed you need to validate the resulting serverJWT by sending to the TabaPay Authenticate API.
How do you retrieve the JWT?
iOS
You receive the JWT in the cardinalSession function from the previous step. When defining what to do during the SUCCESS case, you can pass this serverJWT object back to your server for validation.
func cardinalSession(cardinalSession session: CardinalSession!,
                     stepUpValidated validateResponse: CardinalResponse!,
                     serverJWT: String!) {
      //...
          //...
          //...
      }
}
Android
You receive the JWT in the onValidated function from the previous step. When defining what to do during the SUCCESS case, you can pass this serverJWT object back to your server for validation.
@Override
   public void onValidated(Context currentContext,
                           ValidateResponse validateResponse,
                           String serverJWT) {
      //...
      //...
      //...
      }
}
How do you validate the JWT?
The Authenticate API is called after the challenge is performed.
3D Secure Card Challenge Authentication.
If you are an ISO, you will need to specify a SubClientID.
URL
https://FQDN/v2/clients/ClientID/3ds/authenticate
Notes:
For Clients who are an ISO, to specify your ClientID and a SubClientID, use the underscore character ( *) to separate the two values:<ClientID>*<SubClientID> where:
- ClientID is your unique 22-character string and
- SubClientID is an assigned 4, 6 or 8-digit value.
14. Create Transaction
Almost done! Don't forget to create a transaction.After the
authenticateAPI we will provide you with theUCAF,XID,ECIwhich you can use in thepullOptionsof theCreateTransaction.
Electronic Commerce Indicator (ECI). The ECI value is part of the 2 data elements that indicate the transaction was processed electronically. This should be passed on the authorization transaction to the Gateway/Processor.
Possible Values:
- 02 or 05 - Fully Authenticated Transaction
- 01 or 06 - Attempted Authentication Transaction
- 00 or 07 - Non 3-D Secure Transaction
Values per Network:
- Mastercard - 02, 01, 00
- VISA - 05, 06, 07
- AMEX - 05, 06, 07
- JCB - 05, 06, 07
- DINERS CLUB - 05, 06, 07
- Cartes Bancaires (CB) Visa - 05, 06, 07
- Cartes Bancaires (CB) Mastercard - 02, 01, 00
- ELO: 05, 06, 07
- Union Pay International: 05, 06, 07
- eftpos (Visa or MC) - 05, 06, 07
For more information: https://developers.tabapay.com/reference/3ds-faq
Create Transaction:
3DS APIs only provide a way for you and the issuer to verify a customer's identity. In order to create a transaction you still have to call the Create Transaction API. The Create Transaction API has a body param for pullOptions. Within this object, you should find a 3DSecure object. Please look at the 3DSecure object and it's internal fields to know what information you will need to provide the createTransaction API.
Example Flow: