Creating a New User
You can create new users to add to help manage your account in the TabaPay Portal.
How to Create a New User
To create a new user, ensure you have the Create User permission. Only users with the admin permission can create a new user. For questions reach out to your account administrator who created your user account.
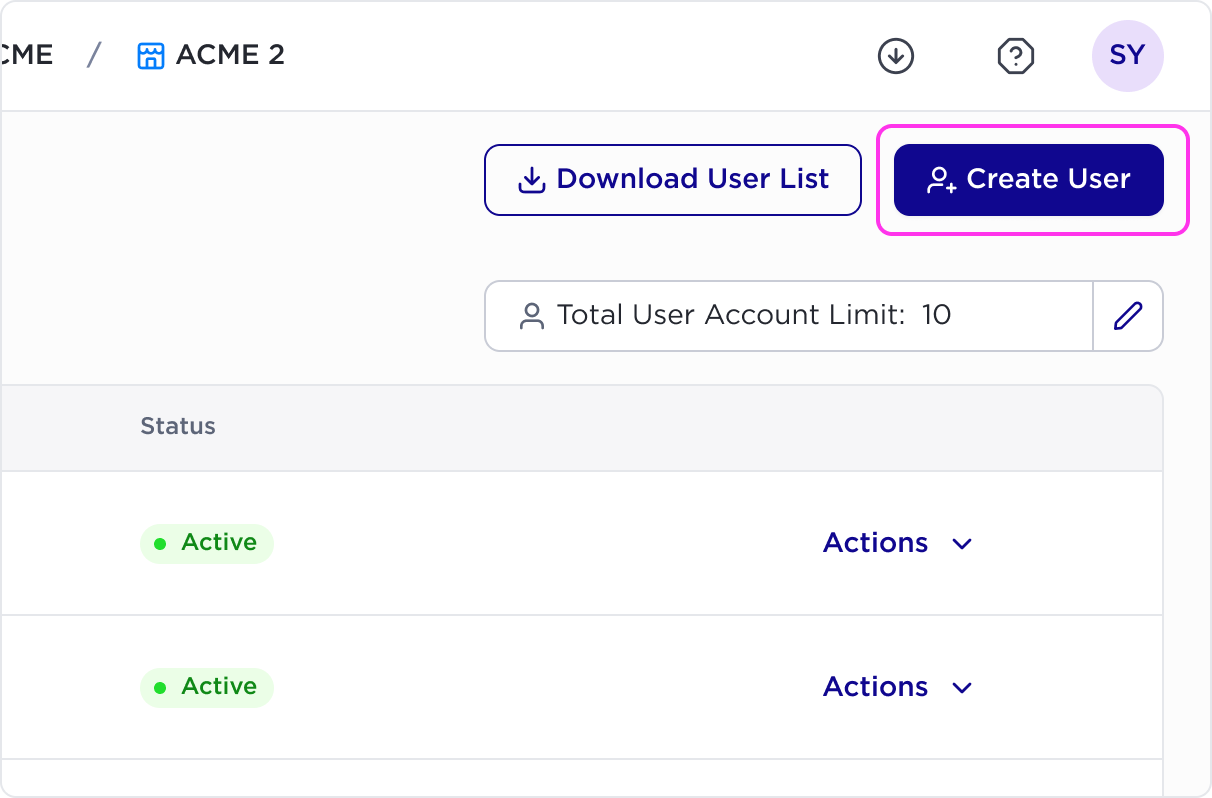
Note: If you have the right permissions, you will see the Create User button above your User List.
-
Log in to the portal, and navigate to the User Permissions page.
-
- Click the Create User button on the top right of the screen to create a new user.
After clicking the Create User button the Create User menu will appear.
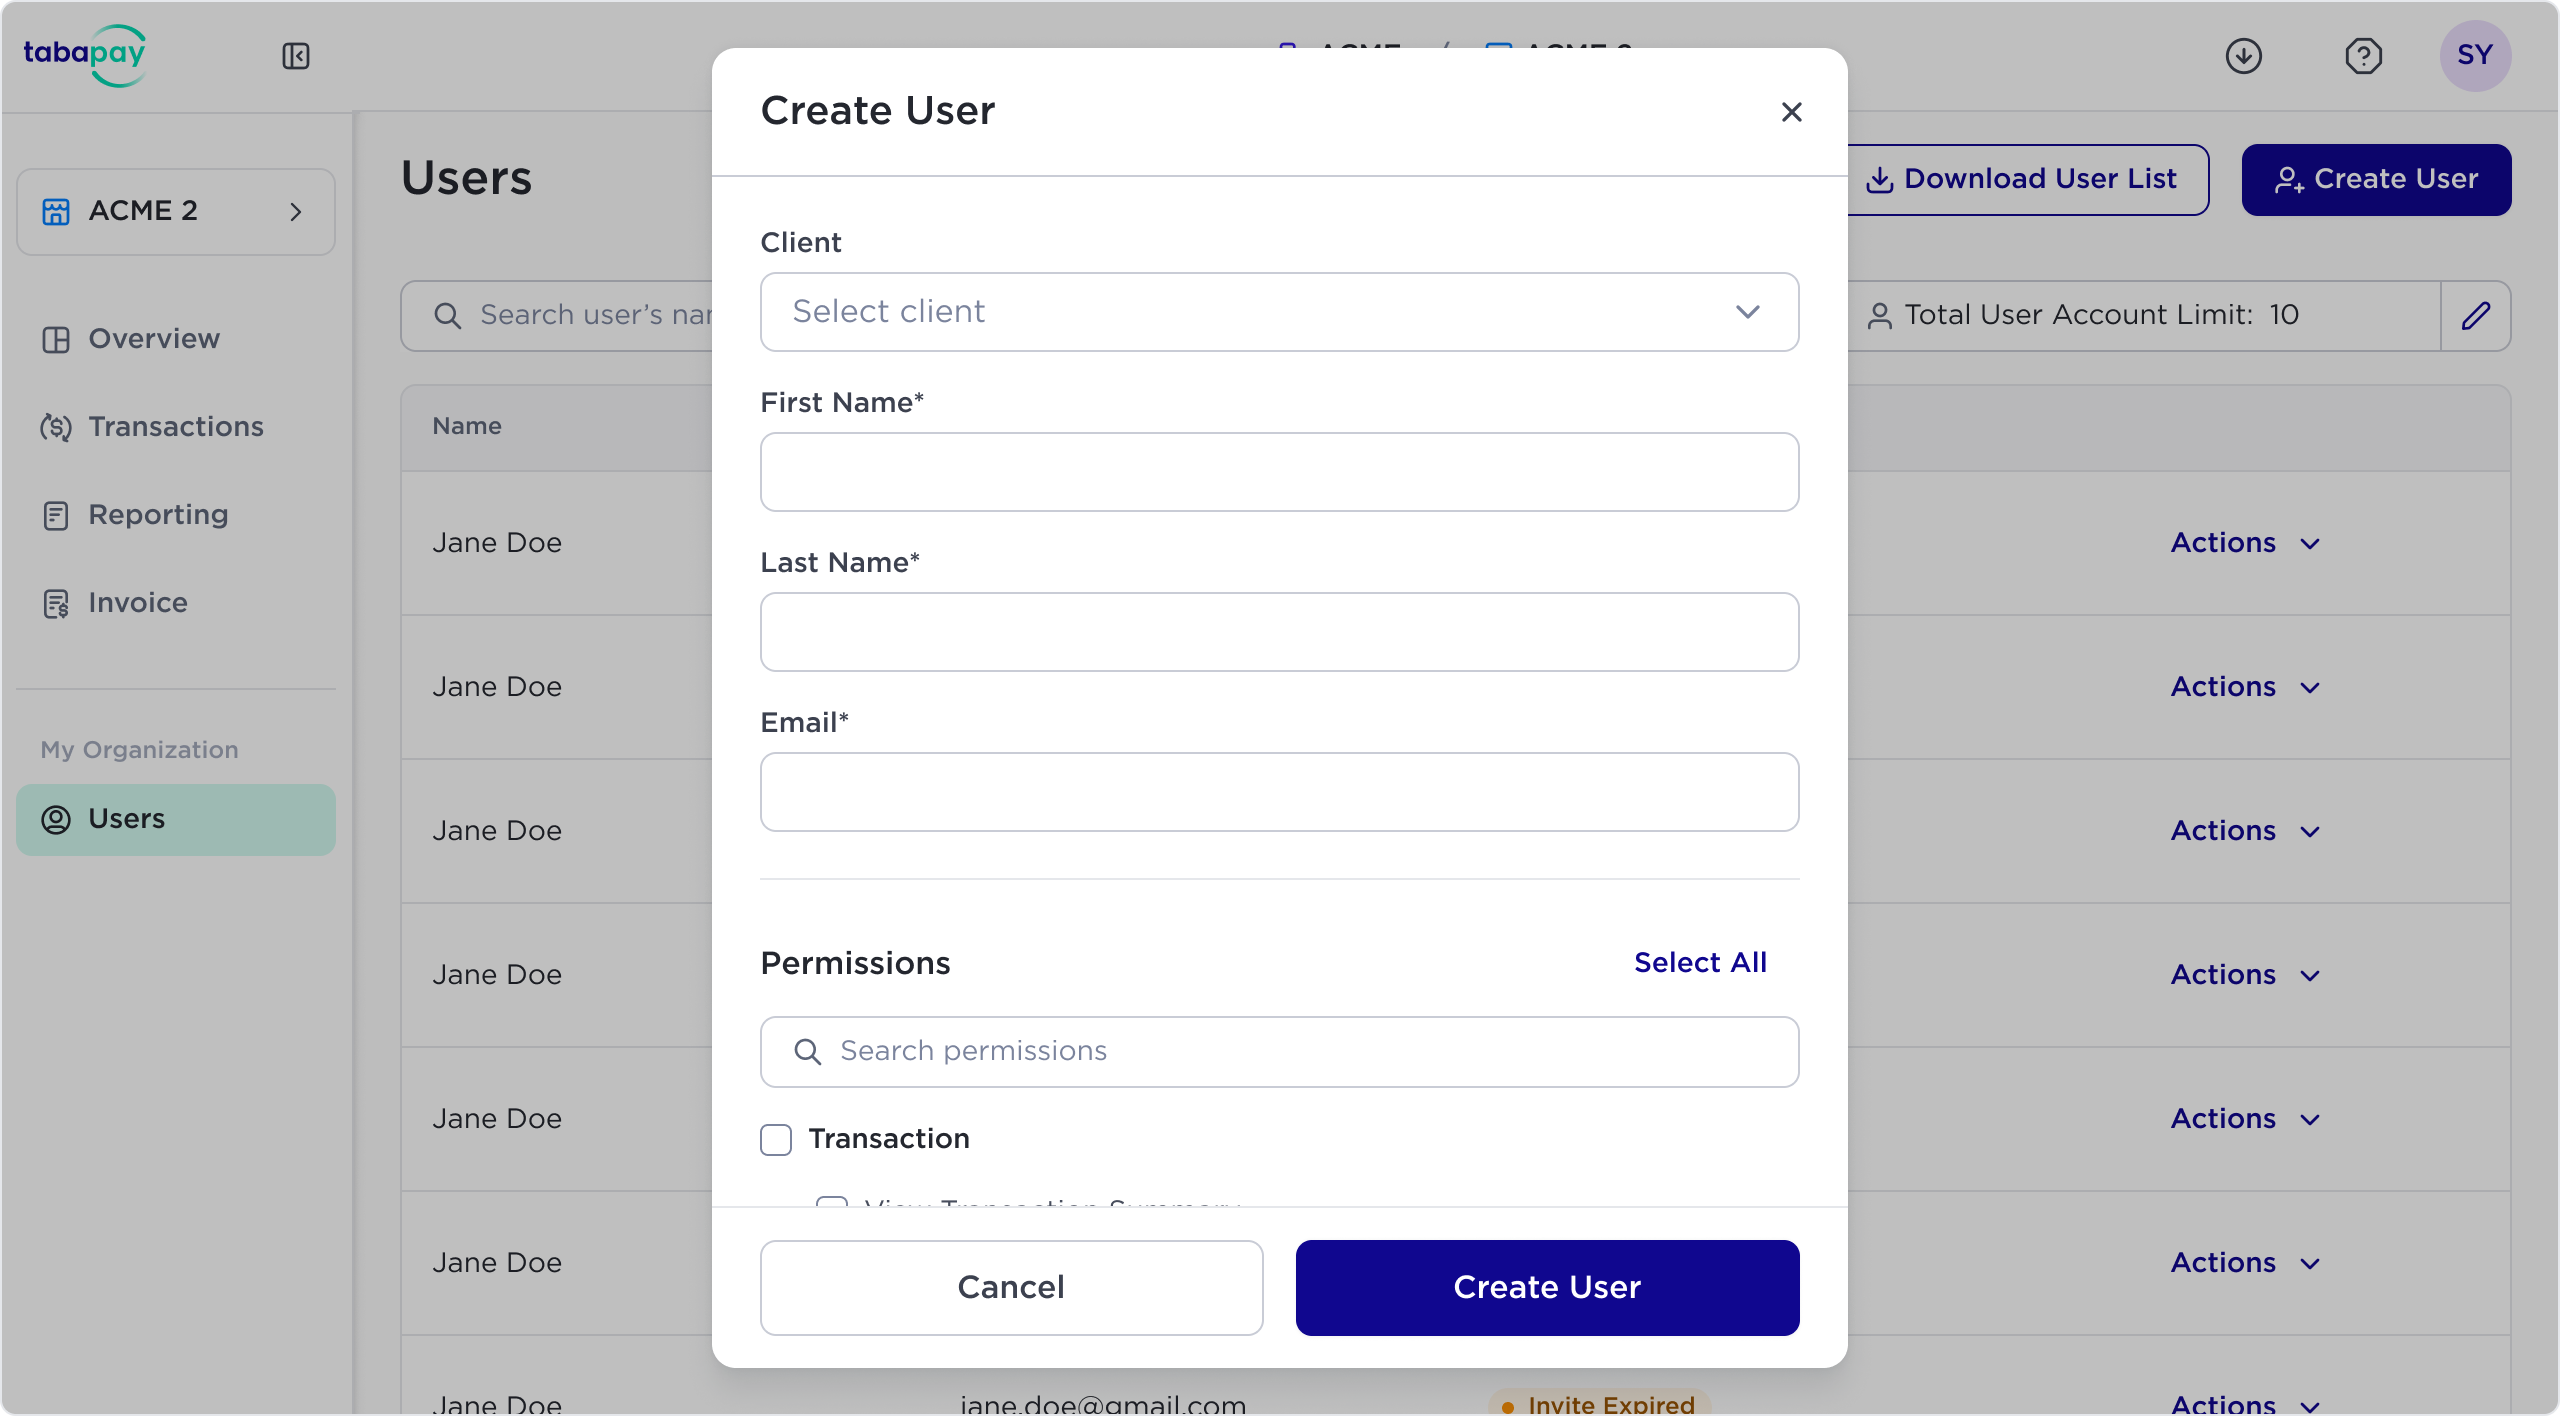
- Create a new user by completing the Create User form.
- Client: Name of the client or account the user will be added to.
- First Name: First name of the user.
- Last Name: Last name of the user.
- Email: Email of the user (this will be the login).
- Permissions: Search preset permissions settings or select sections the user permissions will be enabled for.
Setting Permissions When Creating a UserThe following permissions options will be displayed to select.
Transactions- View Transaction Summary: Allows viewing of transaction summaries, including total counts, amounts, and limits for Pull and Push transactions.
- View Transaction List: Enables access to recent transactions and their details.
- Search Transactions: Grants the ability to search for transaction details.
- Create Pull/Push Transaction: Allows creation of Pull or Push transactions.
- Create Payment Request: Allows the creation of a payment request.
- Void/Reverse/Refund/Delete Transactions: This enables the user to perform these actions on transactions, visible through a specific button on the transaction details page.
Reports & Invoices- View Reports: Users can view and download reports.
- View Invoices: User can view and download invoices.
Manage Users- Create Users: Enables creating new users, setting their permissions, and sending invites.
- Edit Users: Allows modification of user permissions.
- Delete Users: Grants the ability to remove a user's access from the portal. This only removes the user’s access, it does not delete the user’s data.
- View User Activity: Users can view the activities of portal users.
- Export User List: Enables exporting the user list.
Setting up Multi-Factor Authentication (MFA)
- MFA options will appear to enable for the new user.
- Choose between Google Authenticator or Email OTP (One Time Password) as the MFA method.
Assigning Permissions
- Select and assign the appropriate permissions for the user based on their role and your organizational needs.
Finalizing User Creation
- After selecting the desired permissions for a new user, click the Create User button.
The new user appears in the user list with the status Invited.
Updated 5 months ago
Did this page help you?